
Outlets
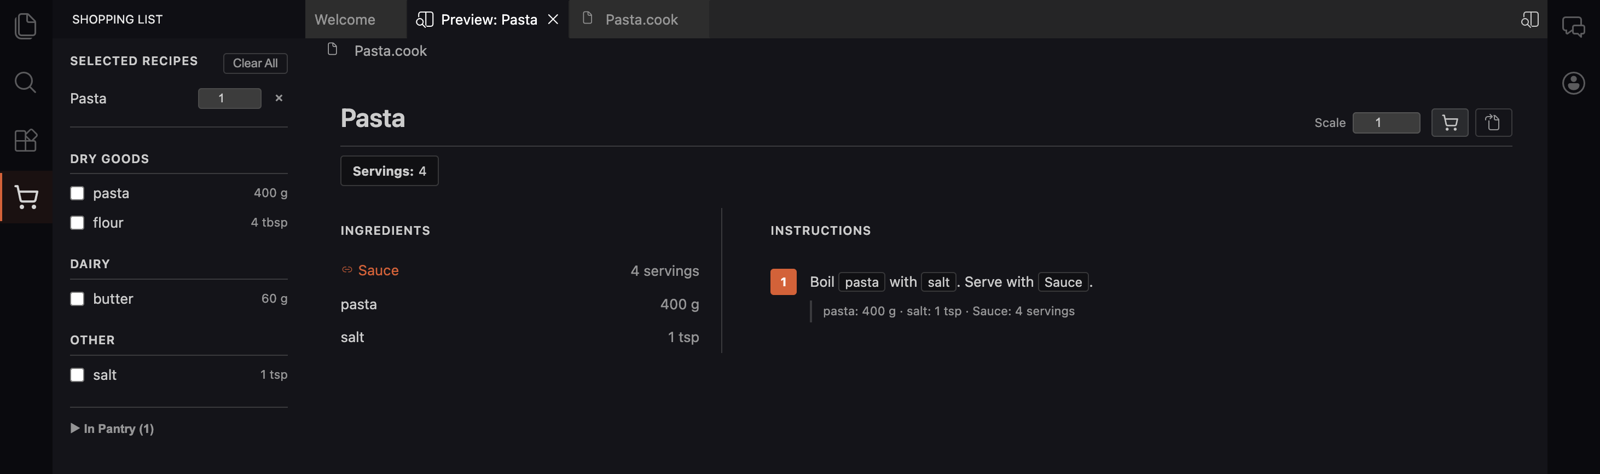
Outlets are the places in Cook Editor's Cooklang screens where a plugin can add buttons and menu items — the recipe preview header, the menu preview, reports. You add to an outlet from package.json, the same way you add to VS Code's editor title bar.
How it works
Declare your command, then list it under the outlet's id in contributes.menus. When the user clicks it, your command receives one argument: a JSON context describing what they clicked. Toolbar outlets show the command's icon (or its title if it has none); context-menu outlets show its title.
group orders items: "navigation@10" puts your button in the main group at position 10. Cook Editor's own Show Source button sits at navigation@90, so lower numbers appear before it.
Outlet reference
| Outlet id | Where | Context |
|---|---|---|
cooklang/recipePreview/toolbar | Buttons in the recipe preview header | Preview |
cooklang/menuPreview/toolbar | Buttons in the menu preview header | Preview |
cooklang/recipePreview/ingredient/context | Right-click an ingredient in the recipe preview | Ingredient |
cooklang/menuPreview/recipe/context | Right-click a recipe in the menu preview | Menu recipe |
cooklang/report/toolbar | Buttons above a rendered report | Report |
Contexts
Every context has version: 1. Paths are relative to the recipe folder; URIs are file:// strings. Later versions only add optional fields.
Preview
{ version: 1, uri: 'file:///…/Dinner/Carbonara.cook', path: 'Dinner/Carbonara.cook', scale: 2 }scale is the scale the preview is showing.
Ingredient
{ version: 1, uri, path, scale,
  ingredient: { name: 'flour', quantity: '400 g', amount: 400, unit: 'g' } }
quantity is the text shown in the preview, already scaled. amount is present when the quantity is a number; unit when it has one.
Menu recipe
{ version: 1, menuUri, menuPath: 'Plans/Week.menu', menuScale: 1,
  recipe: { name: 'Dinner/Carbonara', scale: 2, unit: 'servings' } }
recipe.name is the reference as written in the menu. scale already includes the menu's scale. When unit is set, scale is a target in that unit (4 servings), not a multiplier — call cooklang.api.resolveRecipeReferences on the menu if you need multipliers.
Report
{ version: 1, uri, path, templateId, templateLabel, templateUri?, outputFormat: 'markdown' | 'html' | 'text', output? }output is the rendered text, once rendering has succeeded.
Examples
"contributes": {
  "commands": [
    { "command": "nutrition.lookup", "title": "Look Up Nutrition" },
    { "command": "share.report", "title": "Share Report",
      "icon": { "light": "media/share-light.svg", "dark": "media/share-dark.svg" } }
  ],
  "menus": {
    "cooklang/recipePreview/ingredient/context": [{ "command": "nutrition.lookup" }],
    "cooklang/report/toolbar": [{ "command": "share.report", "group": "navigation@10" }]
  }
}
vscode.commands.registerCommand('nutrition.lookup', (ctx: { ingredient: { name: string; amount?: number; unit?: string } }) => {
vscode.window.showInformationMessage(`${ctx.ingredient.name}: ${ctx.ingredient.amount ?? '?'} ${ctx.ingredient.unit ?? ''}`);
});The Shopping List plugin uses both preview toolbar outlets — its package.json is a complete example.
Tips
- Hide your command from the command palette when it only makes sense with a context: add
{ "command": "…", "when": "false" }undermenus.commandPalette. whenclauses on outlet items are checked when the screen redraws. Use them for facts that don't change while a preview is open (likecooklang.apiVersion); put per-recipe decisions in your command, using the context.- If an outlet has nothing in it, nothing is shown — right-click falls back to the normal menu.